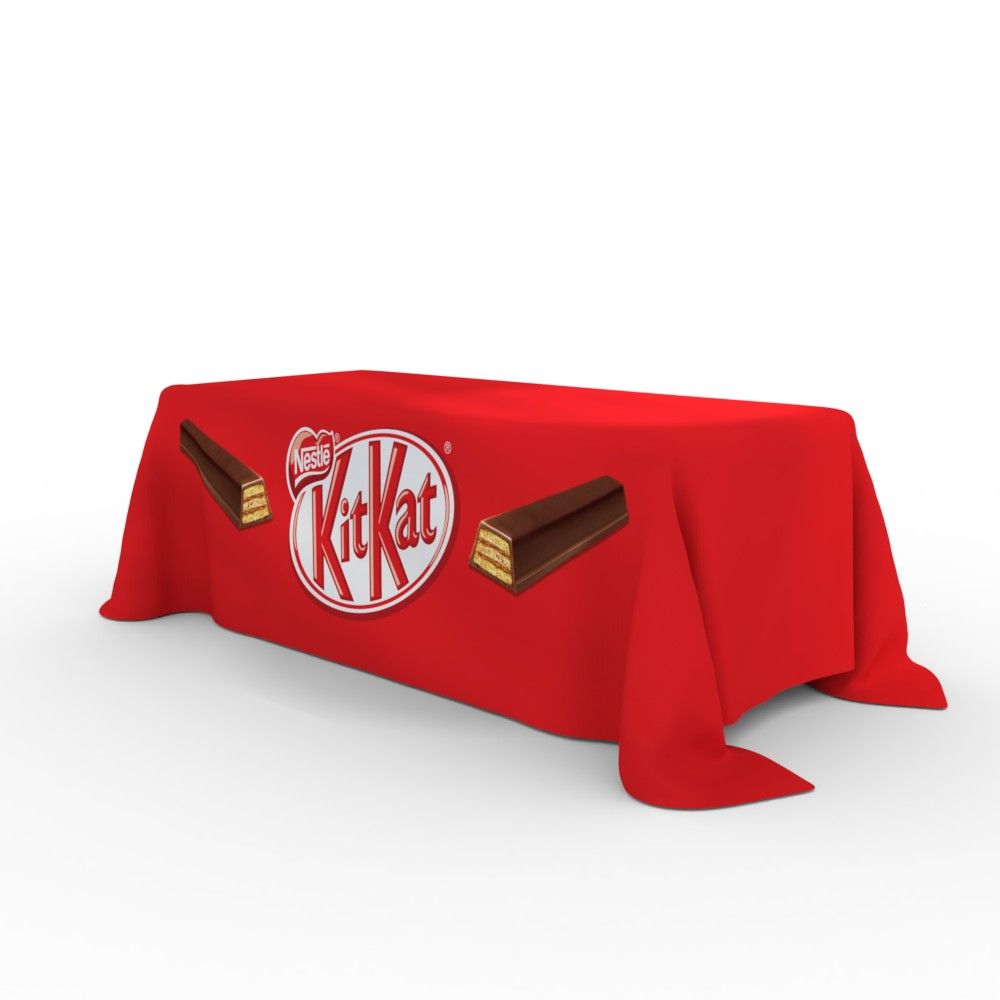
How to Measure for a Custom Printed Tablecloth
Choosing the perfect custom printed tablecloth starts with accurate measurements. Every table is slightly different, so measure carefully to ensure a professional fit for exhibitions, trade shows, and retail displays.
Tip: sketch a quick diagram while measuring (see Figure B).

Step 1: Measure Your Table
- Table Length — end to end.
- Table Depth (Width) — front to back.
- Table Height (Drop) — how far you want the cloth to hang. Most customers prefer a full drop to the floor; if so, measure from the tabletop to the floor.
Step 2: Calculate the Finished Cloth Size
Use the simple formulas below to determine your final cloth dimensions (see Figure B):
- Cloth Length (Left ↔ Right)
- Height + Length + Height
- Cloth Depth (Front ↔ Back)
- Height + Depth + Height
Step 3: Set Up Your Artwork
Create a simple layout grid to position your branding precisely (see Figure C). Follow these tips:
- Rotate rear-panel logos 180° so they read correctly when fitted.
- Avoid placing logos or text in the corner areas — these naturally fold and drape.

